11 Exterior Features
Towing Hitch
On the rear of the Phaeton is a 10,000-pound towing hitch (Figure 11-1) capable of handling a tongue weight of 1,500 pounds.
This hitch is installed for towing a passenger car to be used when the vehicle is parked. The wire connector installed with this hitch is a standard, 7- pin connector.

Exterior Sides
The sides of your motorhome (Figure 11-2) and the end caps are made of gel-coated fiberglass.

To add to this feature, the end caps are also gel-coated fiberglass. To clean these fiberglass surfaces, only use warm water and a mild cleanser; gently wash with soft cloths. Use of stiff bristle brushes or other harsh abrasives may cause scratches in the fiberglass surfaces.
| NOTE: Tiffin Motor Homes is NOT responsible for the weathering and/or oxidation of gel-coated surfaces. |
Spacious storage compartments are located on the exterior sides of your motorhome. These external compartments provide ample additional space for your belongings while you are traveling. When stowing materials in these storage compartments, try to “balance” the resultant weight load from front to rear and from side-to-side. This will keep the center of gravity of the motorhome essentially unchanged and should not adversely affect the handling characteristics of the motorhome when it is in motion.
Security Lights
On the motorhome, exterior security lights (Figure 11-3) are standard features.
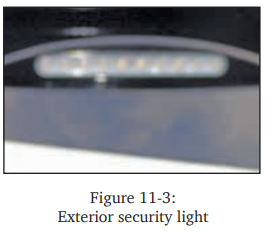
A light is installed on the passenger side of the coach to help light that side of the motorhome for added protection.
This light can serve as a “porch light” when the motorhome is parked and the awning is deployed so that various activities (e.g., sitting outside, grilling, visiting) at dusk and later can be enjoyed by the motorhome owners and their guests.
Roof & Ladder
The Phaeton is manufactured with a fiberglass roof accessed by a ladder (Figure 11-4).
Proper care and routine maintenance of your roof will ensure many years of trouble-free performance.
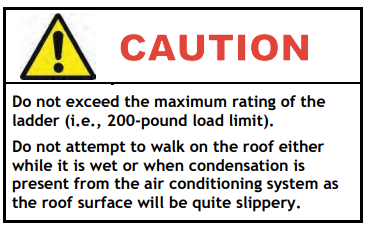
On the motorhome, a roof ladder (rated capacity: 200 pounds, maximum) is typically used to permit easy access to the roof for routine maintenance and periodic inspections.

Electric Steps
The Phaeton is equipped with electric doorsteps (Figure 11-5).


The switch (Figure 11-6) to operate these steps is located in the passenger console box. When the power switch for the steps is in the ON position, open the door and the steps will automatically extend.
Detailed operation for the electrical, double-entrance, door steps is as follows:
1. Turn the step power switch “on.”
2. Close the door. The step should retract and lock into the UP position.
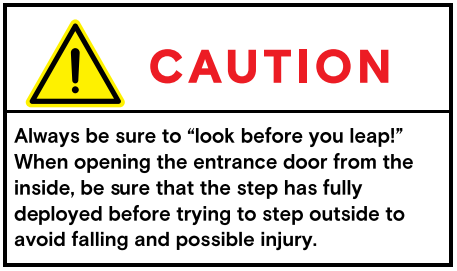
3. Open the door. The step should extend and lock into the DOWN position.
4. Turn the step power switch “off.” The step should remain in an extended position when the door is closed. Turning “off ” the power with the step retracted will hold the step in a retracted position, as well.
5. With the step extended, turn the step power switch “off ” and close the entrance door. Turn the vehicle ignition switch “on.” The ignition override system will go into effect and the step will automatically retract.
6. With the step switch in the “on” position, turn the vehicle ignition switch “off ” and open the door. The step will extend and lock in the DOWN position.
7. This feature is only operative the first time the door is opened after the vehicle ignition switch is turned “off.” When the ignition switch is “on,” the step will always activate with the door move ment, regardless of the position of the step power switch.


Mirrors
This motorhome is equipped with remote-controlled, exterior rear view mirrors (Figure 11-7).

Always adjust the mirrors for maximum rear visibility before driving. If another driver is to drive, be sure the mirrors are readjusted to accommodate the second driver.
The mirrors are adjusted by using the multi-directional switch (Figure 11-8) located on the dashboard. Select the mirror to be adjusted by pointing the arrow in the direction of that mirror.

Move the control in the direction of movement desired to obtain the best view for that mirror. The adjustment control moves the top half of both mirrors. The bottom half of each mirror is convex and is adjusted manually.
Detailed instructions for these manual adjustments can be found in the manufacturer’s literature available in the Owner’s Information Package. However, this brief overview of mirror adjustment can begin the process: The top portion of the mirror must be adjusted horizontally so that you can see your own motorhome in the one-inch surface closest to the motorhome. The remaining portion of the mirror now enables you to see the road behind you. The mirror must be adjusted vertically so that you can see the rear bumper on the bottom of the plane portion of the mirror.
The convex mirrors must be adjusted horizontally so that you can see your own motorhome in 1/3rd of the mirror. These convex mirrors must then be adjusted vertically to allow you to see any other vehicles alongside your motorhome.
These mirrors also contain heating elements to defog or de-ice the mirror glass during cold weather operation. The red ON/OFF switch for this feature is located by the adjustment control. Further adjustment of the mirror might be necessary at the swivel portion of the mirror arm.
