10 2026 Byway Slide-Out Features
Slide-Out Overview
General Considerations

The slide-out room feature is activated through the Spyder Controls slide-out display screen ( Figure 10-1) or the Front Slide-Out Switch (Figure 10-2). Both controls must be pressed down in the desired position (either “Extend” or “Retract”) to activate the desired action of the slide-out room and continue to be held down until the desired action is concluded. Releasing the switch before the slide-out is fully extended or retracted will stop the slide-out.


Operating Precautions
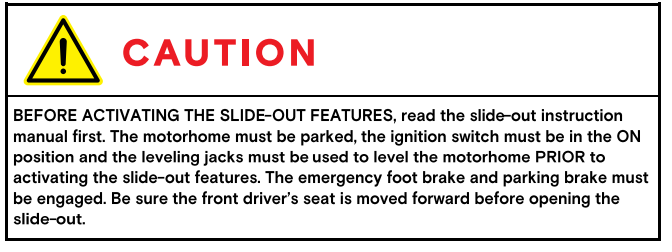
Before the slide-out-room mechanism is used, make sure the motorhome is parked, and the leveling process has been properly completed. Verify that no obstacles (branches, trees, telephone poles, power/water hookups, trash bins, etc.) are within a five-foot space envelope of the slide-out room, to keep from damaging the slide-out room when it is finally deployed.

Extending the Slide-Out Room
1. All windows in the slide-out room (Figure 10-3) must be closed and secured before the slideout room is to be extended or retracted. Also, any loose materials or possible obstructions, such as rugs or furniture must be removed from the immediate slide-out room area.
2. Make sure that the motorhome has been leveled, that the battery is fully charged and connected to the electrical system, and that the ignition switch is ON, and the engine is running before attempting to use the slide-out features.
3. Verify that there are no obstructions outside, which may interfere with the operation of the slide-out room.
4. Before moving the slide-out room in either direction, make sure that the driver and passenger’s chairs are moved forward into the driving area as far as possible and locked into position. Make sure the parking brake is engaged.
5. Push EXTEND on the Spyder Controls System. Allow the slide-out room to go to its fully extended position. When fully extended, release the switch.
NOTE: The front slide-outs can also be operated by pressing the buttons located on the sides of the seats.
Retracting the Slide-Out Room
Before attempting to move the motorhome, the slide-out room must be fully retracted.
Verify that the 12 VDC system is fully charged and connected to the electrical system.
Make sure all personal equipment and any children are away from the slide-out.
Make sure all cabinet doors around the slide-out areas are closed.
Push RETRACT on the Spyder Controls System, and allow the slide-out room to go to its fully retracted position.
NOTE: The front slide-outs can also be operated by pressing the buttons located on the sides of the seats.
Release the switch (this locks the room into position).

Emergency Slide-Out Room Control Override
If the switches for the slide-out rooms become disabled in the cabin of the motorhome, use the emergency override button for all slide-outs (Figure 10-4) The slide out override buttons will be located on the M1 panel in the first driver's side storage compartment. This override switch operates all slide-outs simultaneously. To retract or extend the slide-outs, a round dowel or cylinder (for example: barrel of a ballpoint pen) must be inserted in the holes marked RET or EXT.
